The New Tribe is a community-led project funded by our North London Community Fund, designed to creatively tackle food and textile waste through hands-on workshops.
Led by Elizabeth Salazar (pictured), the project ranges from natural dyeing and weaving to repurposing food scraps, these sessions invite participants to explore sustainable practices in accessible and imaginative ways. Delivered in community venues across north London, the workshops are especially focused on engaging migrant communities, celebrating cultural knowledge, encouraging skill-sharing, and building connections through waste prevention and craft.

To kick things off, our colleague Naomi headed down to one of the natural dyeing and weaving workshops to try it out for herself. Guided by Belen, she learned how to turn recycled cardboard and fabric scraps into a beautiful mini tapestry, proof that waste can be transformed into something amazing!

Now, time to delve into the tutorial...
What you’ll need:
-
Recycled cardboard (e.g. from packaging)
-
Cotton thread or strong yarn for the warp
-
Strips of recycled fabric (old clothes, textile scraps)
-
Scissors
Step-by-step instructions
Step 1: Make your loom
-
Cut a piece of cardboard to your desired size.
-
At the top and bottom edges, cut small notches (like pegs) evenly spaced across the width, these will hold your warp threads in place.
Step 2: Set up the warp
-
Tie two knots around the first notch using cotton thread.
-
Begin wrapping the thread up and down across the cardboard, looping it around each notch and keep the tension even, not too tight, not too loose.
-
When you reach the last notch, tie two knots to secure the end. You now have your warp, the vertical threads that form the base of your tapestry.
Image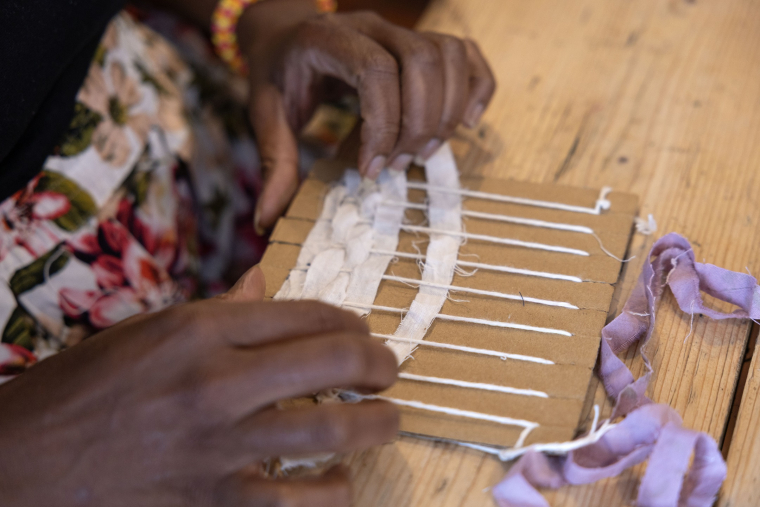
Step 3: Start weaving
-
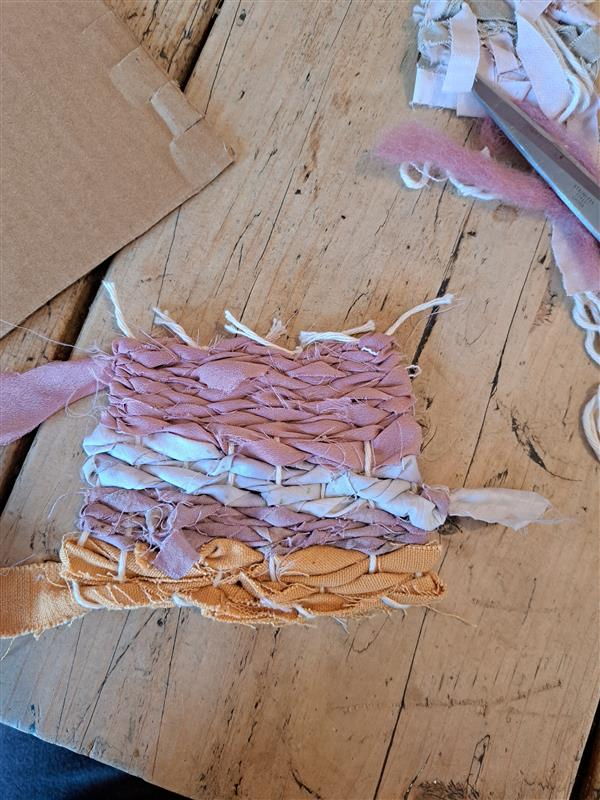
Take a strip of recycled fabric and begin weaving it over and under the warp threads.
-
Push the fabric down gently to keep the rows compact.
-
On the next row, alternate the pattern: if you started with “over” last time, begin with “under” this time.
-
Continue this pattern, maintaining even tension, especially at the edges to keep them straight.
Image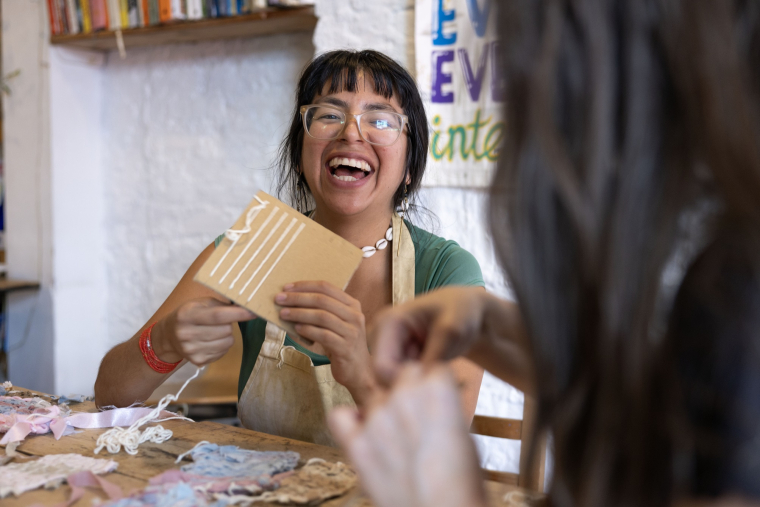
Step 4: Add more fabric
-
When a strip ends, tie a simple knot to connect it to the next strip.
-
Keep weaving until you’re about 2cm from the top edge of the warp.
Image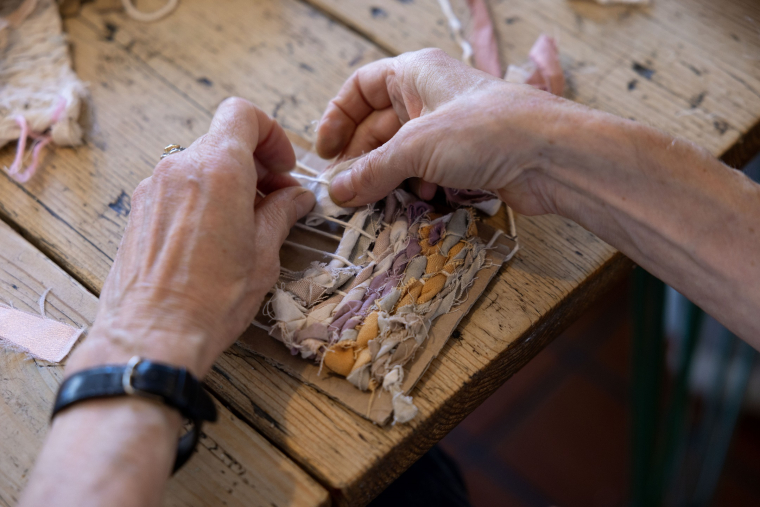
Step 5: Finish your tapestry
-
Cut the warp threads in pairs from the back.
-
Tie two knots with each pair to secure the weave.
-
Once all threads are knotted, gently remove the tapestry from the cardboard loom.
Final result!
You’ve just created a beautiful, handmade tapestry using materials that would otherwise go to waste.
Share your creation!
We’d love to see what you made!
Snap a photo of your finished tapestry and share it on Instagram using:
Tag us: @connectnlwa
Or simply scan the QR code below to jump straight to our Instagram profile and share it with us!

To watch the full tutorial head to our Instagram page!


